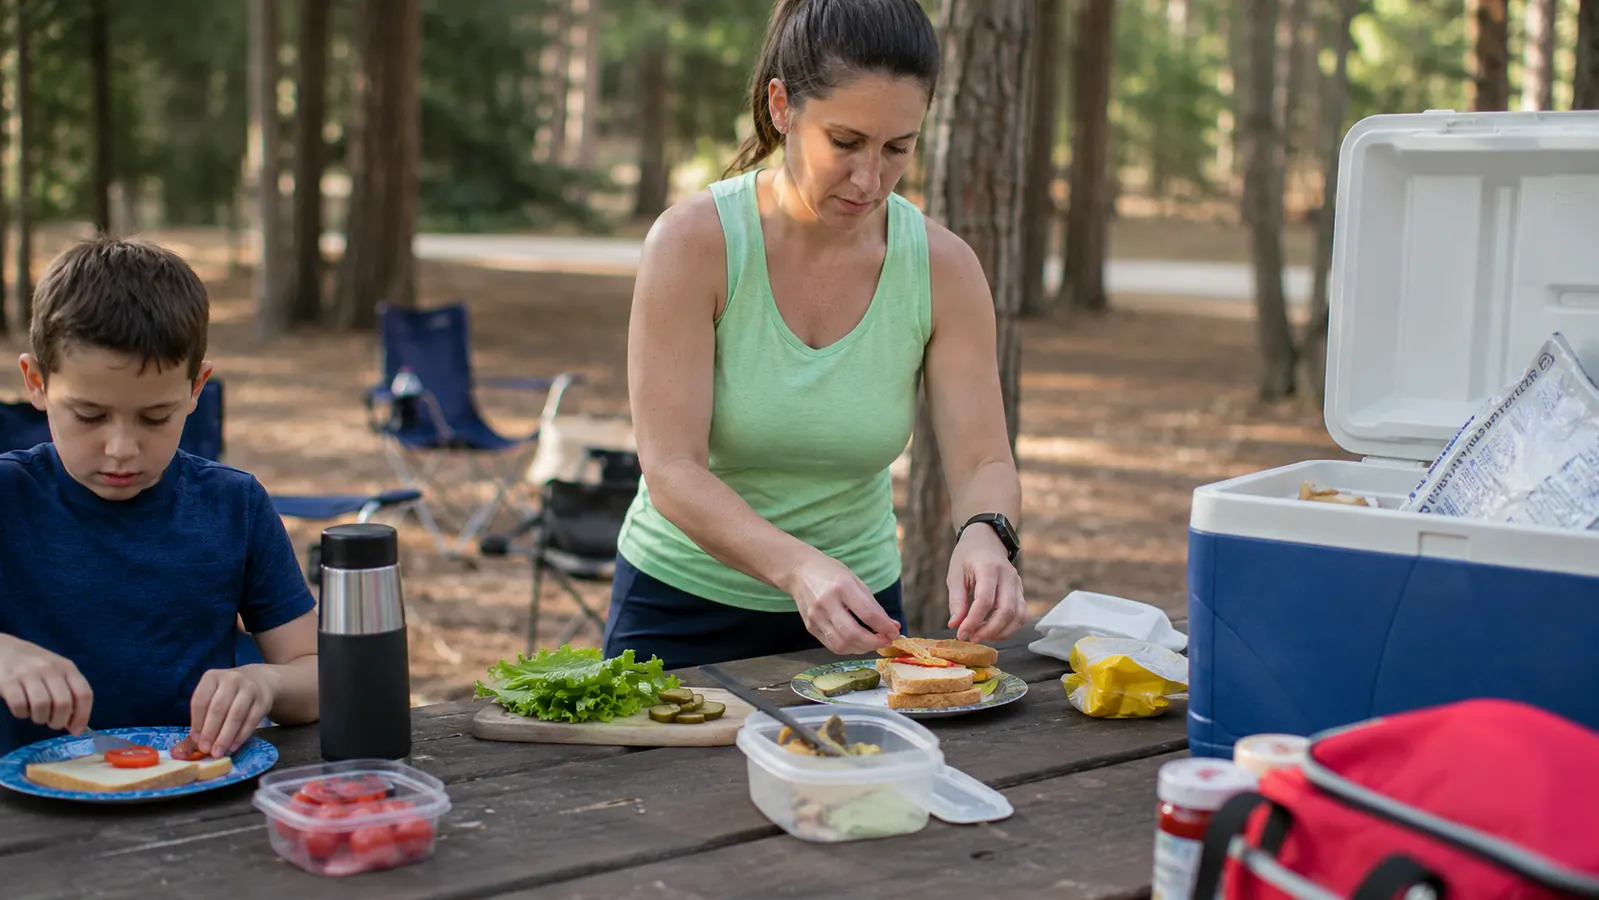
I have killed more ice than I care to admit. A long weekend in June, 85 degrees, and by Saturday morning the cooler is a soup of lukewarm water with a few ice chips floating in it. That used to be our normal. Then I started paying attention to what was actually causing the problem, and it was not the cooler. It was everything I was doing before I even put the lid on.
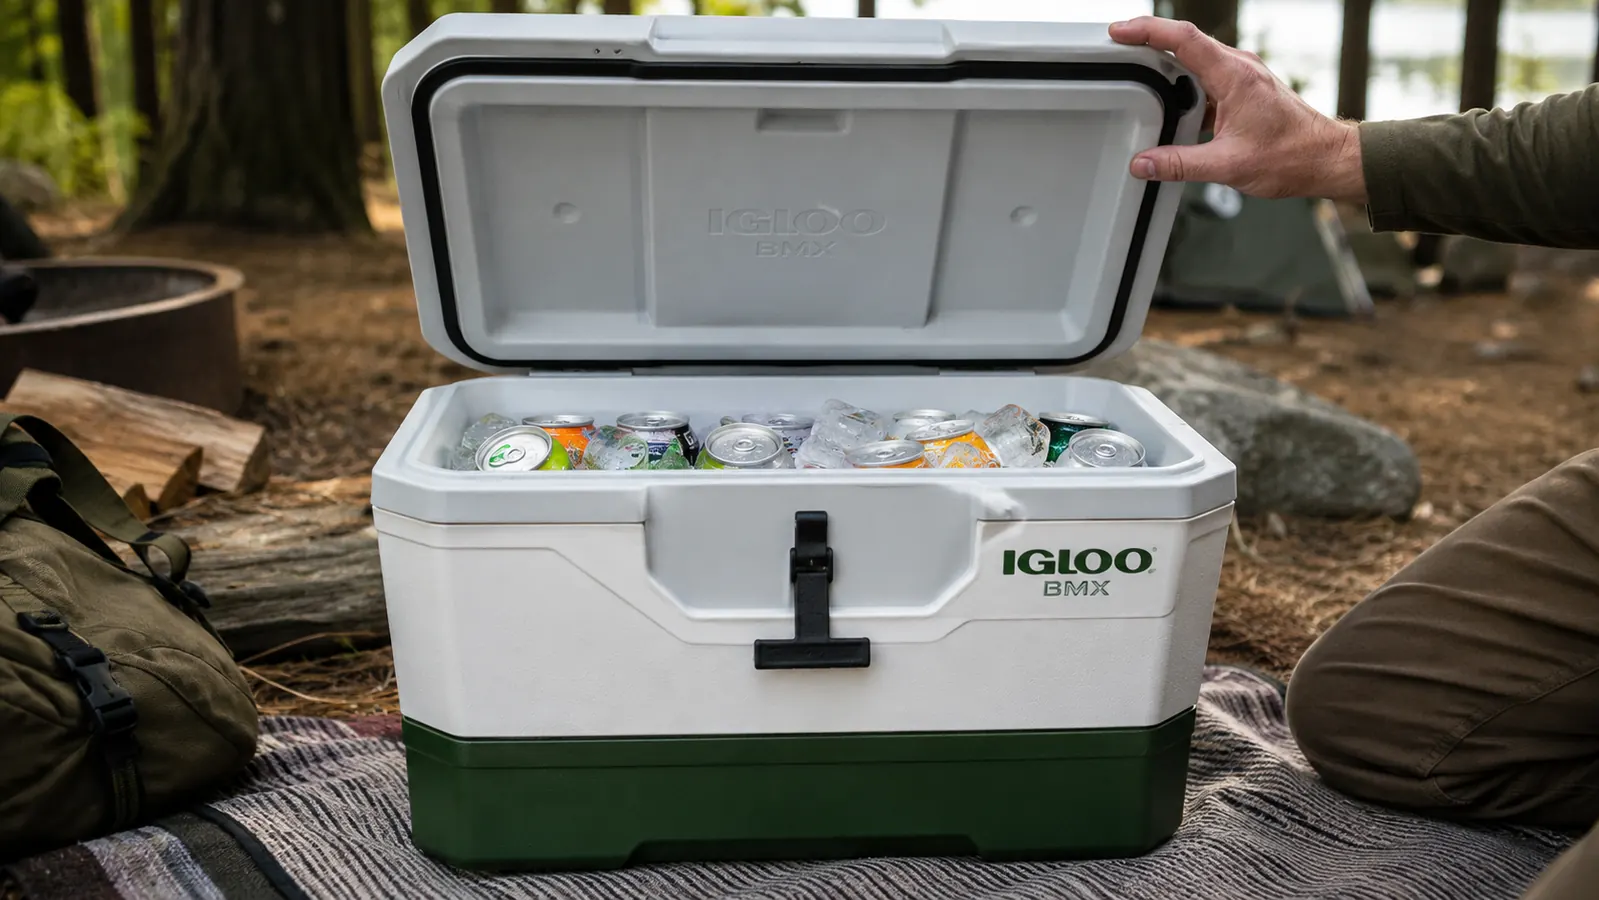
The Igloo BMX Cooler is the cooler I use now on every family trip. It is a hard-shell ice chest with genuine insulation, a rugged latching lid, and enough interior space to feed four people for four days if you pack it right. But even the best cooler fails if you skip the prep. These five steps are what I follow every single time, and I have not had a mid-trip ice run in over two years.
Before we get into the technique, make sure your cooler can actually hold ice.
Thin soft-sided coolers bleed heat no matter how well you pack them. The Igloo BMX is the hard-shell cooler I trust for weekend trips. Check the current price on Amazon before you start step one.
Amazon Check Today's Price on Amazon →Step 1: Pre-Chill the Cooler the Night Before
This is the step most people skip and it costs them a full day of ice life. A room-temperature cooler is basically a heat sink. The moment you load 20 pounds of ice into a warm chest, the interior walls start absorbing that cold and the ice goes to work fighting your own cooler instead of keeping your food cold.
The night before your trip, fill the cooler with a cheap bag of ice or even a few frozen water bottles you do not care about. Close the lid and let it sit overnight. When you open it the next morning to pack properly, drain that water, and now you have a pre-chilled interior that will not eat your real ice from the start. This one change alone extended my ice retention by almost a full day on my last trip to the Ocala National Forest.
If you forget to pre-chill overnight, rinse the interior walls with very cold water right before loading. It is not as effective, but it removes the worst of the ambient heat from the surface.
Step 2: Start With a Block Ice Base, Not Cubed Ice
Cubed ice has enormous surface area relative to its volume, which means it melts much faster than block ice. Block ice melts from the outside in and lasts two to three times longer, weight for weight. For a family of four on a four-day trip, I put one or two large blocks on the bottom of the Igloo BMX before anything else goes in.
You can buy block ice at most grocery stores or campground camp stores in standard sizes. You can also freeze your own by filling gallon ziplock bags with water and laying them flat in your home freezer 48 hours before the trip. Homemade block ice from tap water is not as dense as commercial block ice, but it still outperforms cubed ice by a significant margin. The bottom layer of block ice becomes your cold foundation for everything above it.
One important note: do not drain the meltwater during the trip unless it rises above your food. Meltwater is cold. It insulates. The moment you drain it, the air that replaces it begins warming the interior. I leave it in until it actually becomes a problem.
Step 3: Pack Food in Layers with the Right Order
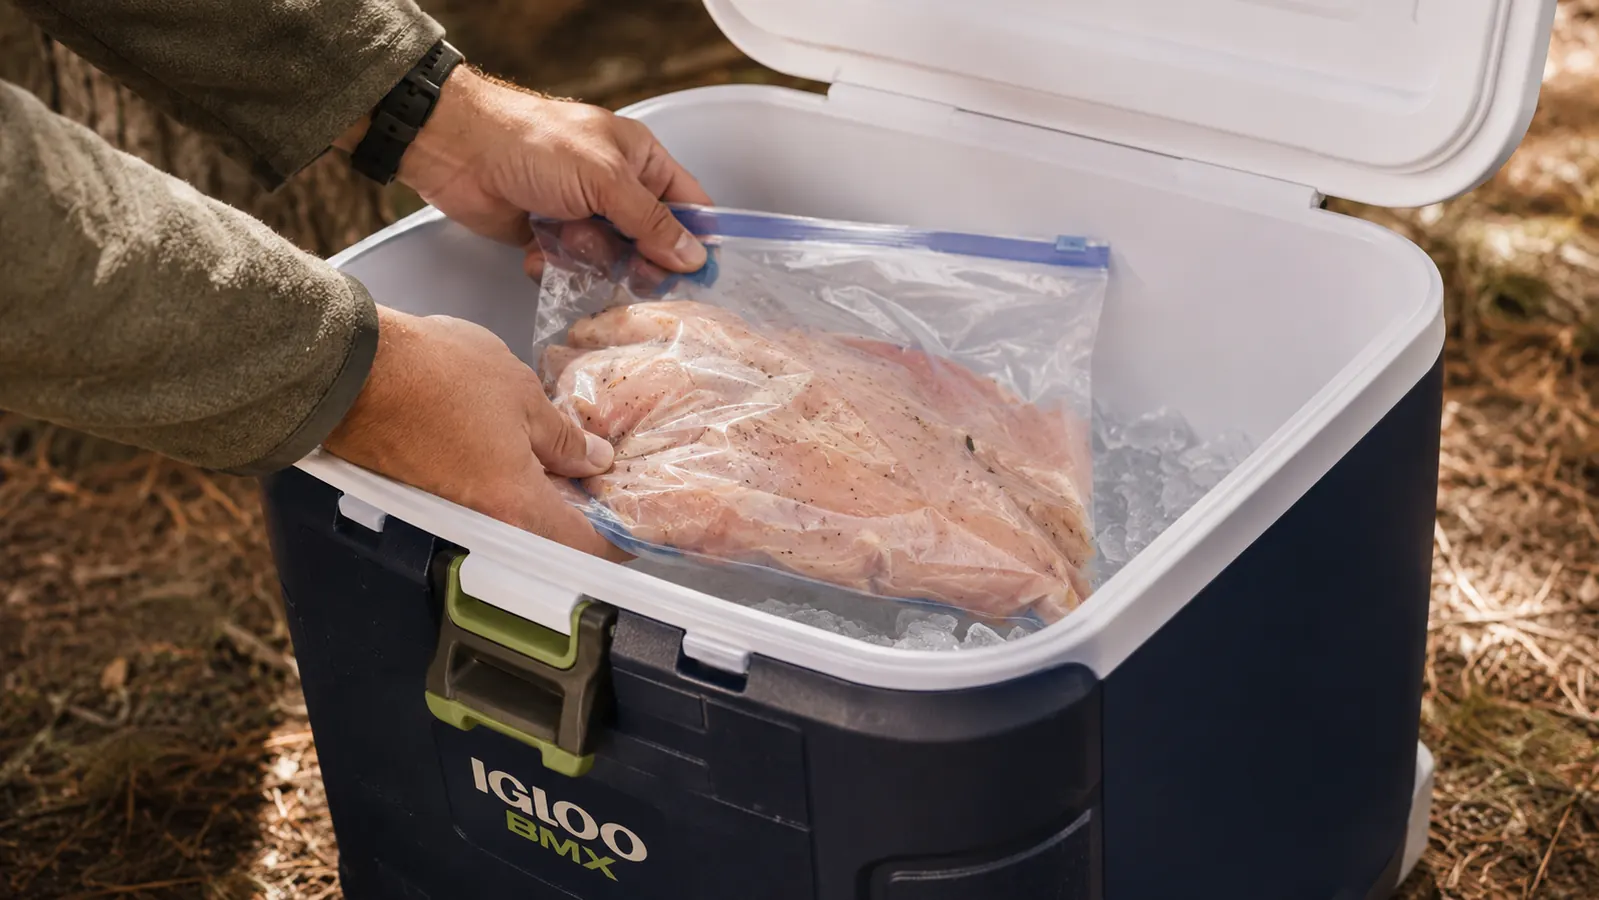
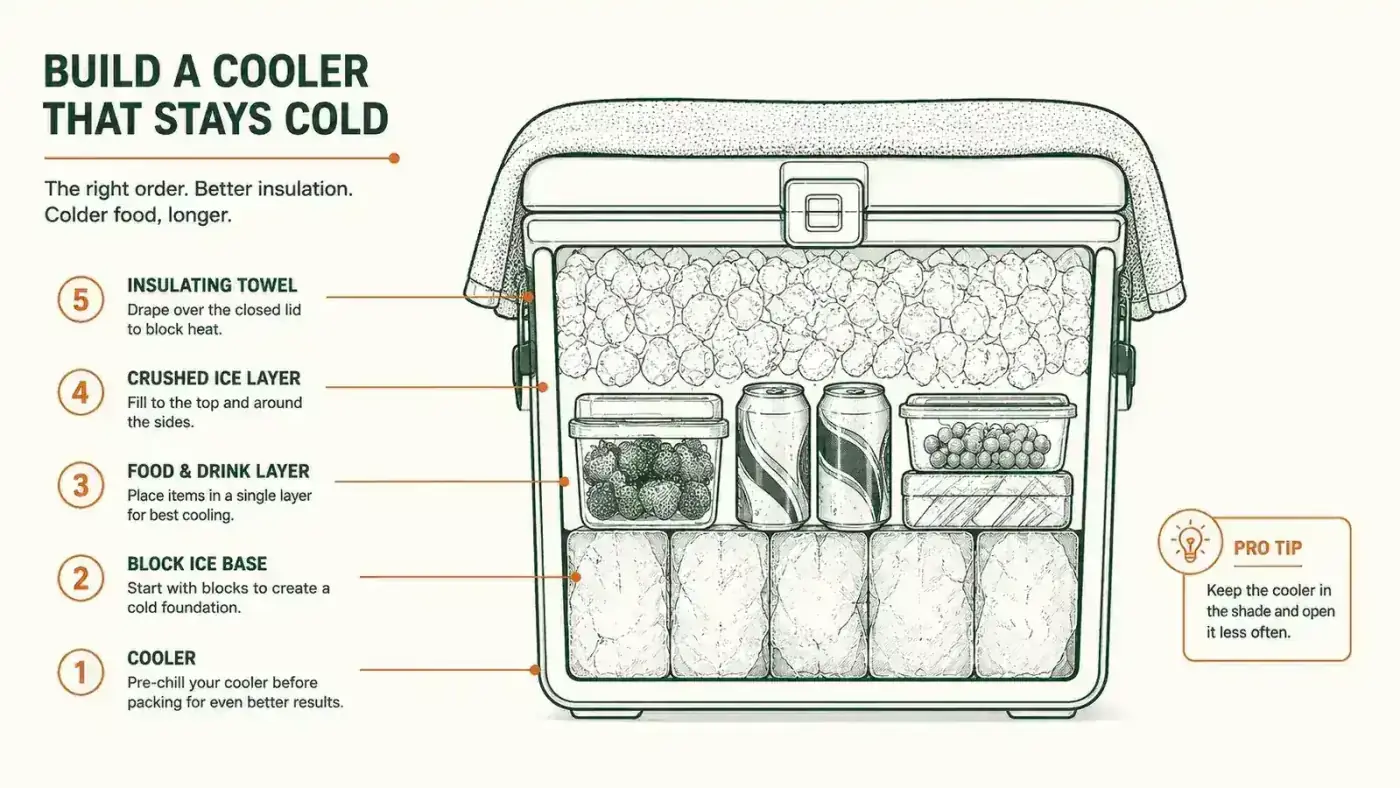
Once your block ice base is in, the order you load everything else matters. Items that need to stay coldest longest go closest to the ice. Items you will grab constantly go on top. Here is the order I use every trip: block ice on the bottom, raw proteins and dairy in a layer directly above the ice (sealed in waterproof bags), then everything else above that, with a top layer of crushed ice or loose cubed ice filling all the gaps.
Block ice on the bottom. Proteins above the ice. Crushed ice on top filling every gap. That is the order I have used for two years without a mid-trip ice run.
The key here is eliminating air pockets. Air is a terrible insulator. Every air pocket inside the cooler is a pocket of warmth that your ice has to fight. Use bags of ice to fill the corners and sides. Pack food tightly so items are touching. I use rigid food-storage containers instead of loose grocery bags because they stack evenly and leave fewer gaps.
Drinks go in a separate, smaller soft-sided cooler if I have one. Drinks are opened constantly, which means the main cooler lid stays shut. A cooler lid that stays shut is the single biggest variable in ice retention after insulation quality. Every time you open the lid, warm air rushes in. I have watched campers at neighboring sites open their cooler ten times in an hour. Their ice was gone by noon on day two.
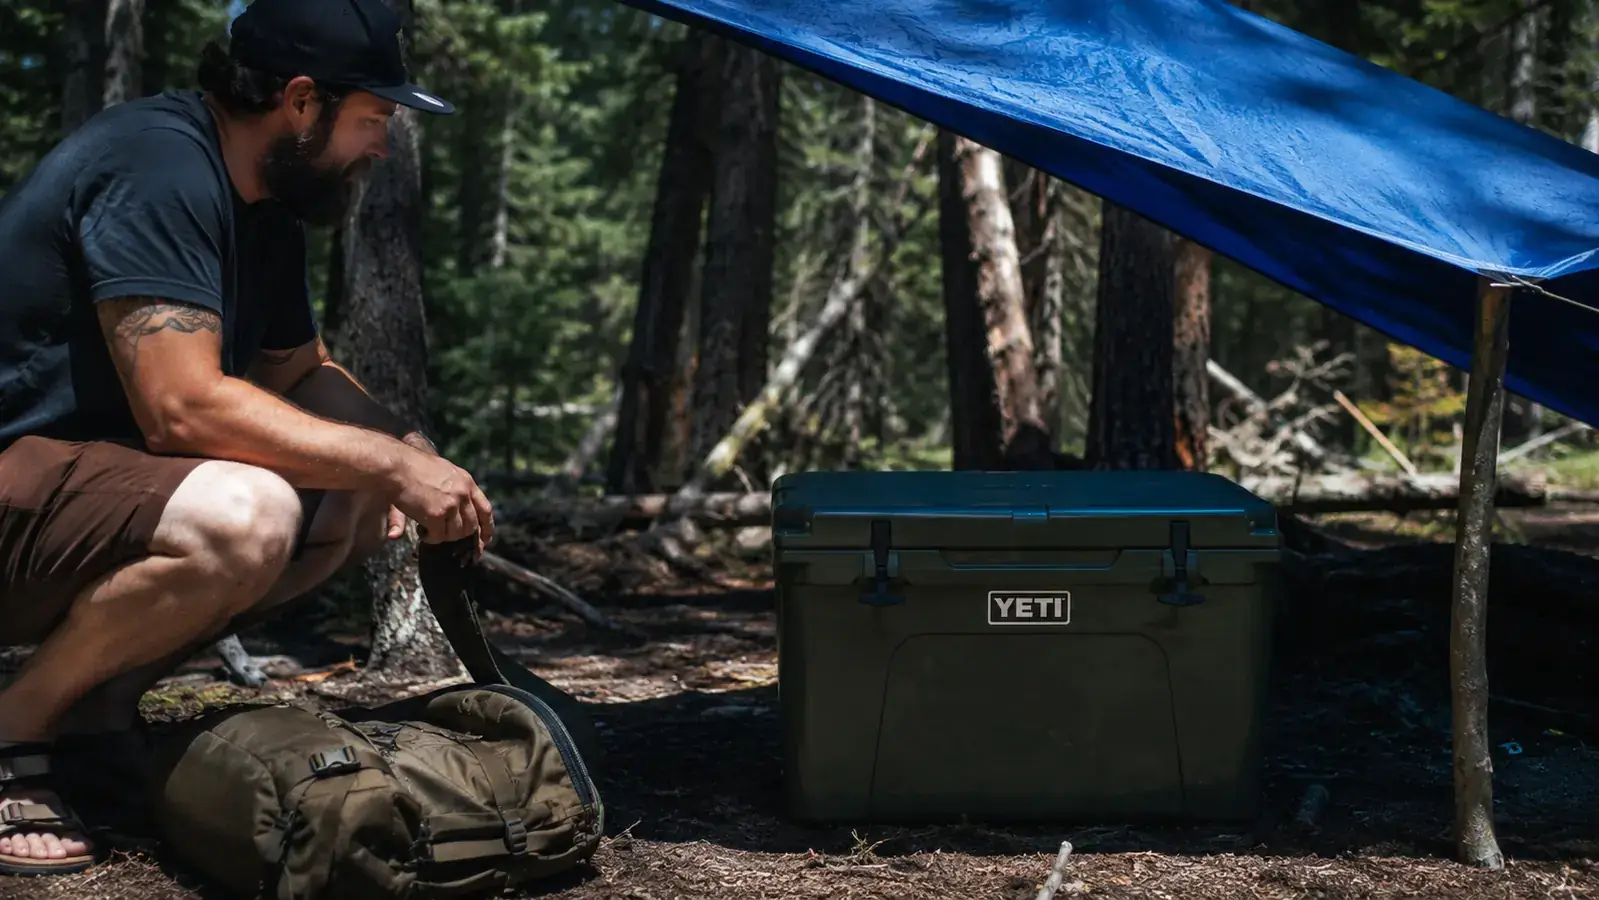
Step 4: Position the Cooler in the Shade, on an Insulating Surface
Where you put the cooler matters almost as much as how you pack it. Direct sunlight on a dark-colored cooler can raise the exterior surface temperature by 30 to 40 degrees above ambient air temperature. That heat conducts straight through the walls and into your ice, even through good insulation.
Find the deepest shade on your campsite, usually the north side of your vehicle, under a tarp, or inside a tent if you have the space. The Igloo BMX has enough build quality that the UV resistance on its shell helps in direct sun, but shade is still the priority. Even a reflective tarp draped loosely over the cooler makes a noticeable difference.
Also check what you set the cooler on. Hot pavement, sun-baked gravel, and metal truck bed liners all conduct heat upward into the cooler bottom. Set it on a folded sleeping bag, a yoga mat, a piece of foam, or even a layer of towels. Anything that puts an insulating barrier between the hot surface and the cooler base adds ice life. On a recent Lake George camping weekend, I moved our Igloo BMX from the gravel pad to the shaded grass beside the tent and the ice lasted 18 hours longer than on our previous trip to the same site.
Step 5: Cover the Inside with a Layer of Towels or a Cooler Blanket
Once the cooler is packed and the lid is latched, lay an old bath towel or a dedicated cooler blanket on top of everything inside, directly under the lid. This is the step that surprises people the most because it looks low-tech. It works because it reduces condensation cycling on the inside of the lid and adds a layer of insulation on the warmest surface of any cooler, the lid, where heat enters most directly from the outside air when you open and close it.
Some campers also wrap the outside of the cooler in a moving blanket or sleeping bag when it is in the car, especially on long drives in hot weather. The heat inside a car in summer can hit 120 to 140 degrees in direct sun. Any buffer you can put around the cooler during transport protects ice before you even arrive at the site.
The Igloo BMX lid has a solid, gasketed seal that gives you a solid starting point for this layer. I have found that cheaper coolers with loose lids lose most of their benefit from internal toweling because warm air seeps in regardless. A tight-sealing lid is the non-negotiable foundation the rest of these steps build on.
What Else Helps
Beyond the five steps, a few smaller habits stack up to meaningful ice time. Freeze as much food as possible before packing it. Frozen meat and frozen containers of soup act as additional ice blocks and stay cold far longer than chilled-but-not-frozen food. Pre-freeze everything you can eat in the first 24 hours, and it will still be safe and cold when you need it.
Keep a routine: decide in advance when you will open the cooler each day, and stick to it. Morning meal prep, lunch prep, dinner prep. Outside those windows, the lid stays shut. If your camping group has kids who graze, consider a separate small cooler for the snacks and drinks. That is what finally solved our lid-discipline problem.
If you want to go deeper on whether the Igloo BMX is the right cooler for your trip length and group size, the full field review is worth reading. And if you are still deciding whether a hard-sided cooler makes sense over a soft-sided bag, the rundown on why hard-sided coolers hold up better breaks it down with side-by-side comparisons.
For most weekend campers, three to five days of ice is completely achievable with a quality hard-sided cooler and a consistent routine. You do not need a $400 premium cooler. You need a good cooler and a better packing habit. These five steps are the habit.
If your current cooler is losing ice in under 48 hours, the problem is probably the cooler, not your packing.
The Igloo BMX gives you the insulated hard shell that makes these packing techniques actually work. It has over 20,000 reviews on Amazon and holds up in heat that kills softer-sided options. See the current price and available sizes.
Amazon Check Today's Price on Amazon →